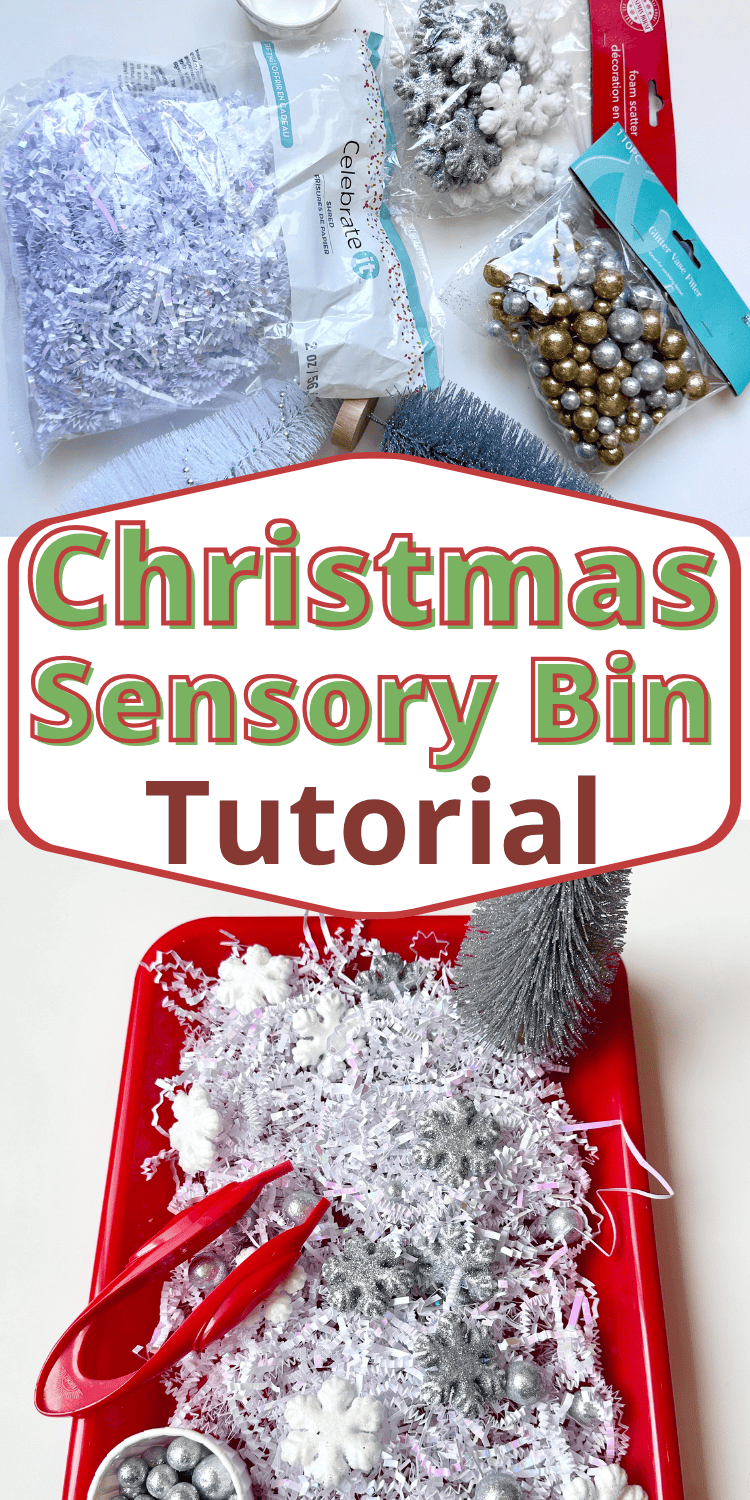
Christmas Themed Sensory Bin Tutorial

Looking for a festive, hands-on holiday activity your little one will love? This Christmas Sensory Bin is a fun way to let babies and toddlers explore textures, colors, and shapes.
I have found this is ideal for kids ages 9 months to 3 years. It’s super easy to put together with simple supplies from places like Dollar Tree, Michaels, and Amazon.
You might be able to use things you already have.
Whether you use this bin as a quiet-time activity, a playdate setup, or a Christmas morning surprise, it’s a great way to keep your little one busy for hours.
When we first introduced sensory bins to my 1-year-old old he played for 2 hours straight!
🎄 What You’ll Need: Snowflake Sensory Bin Supplies
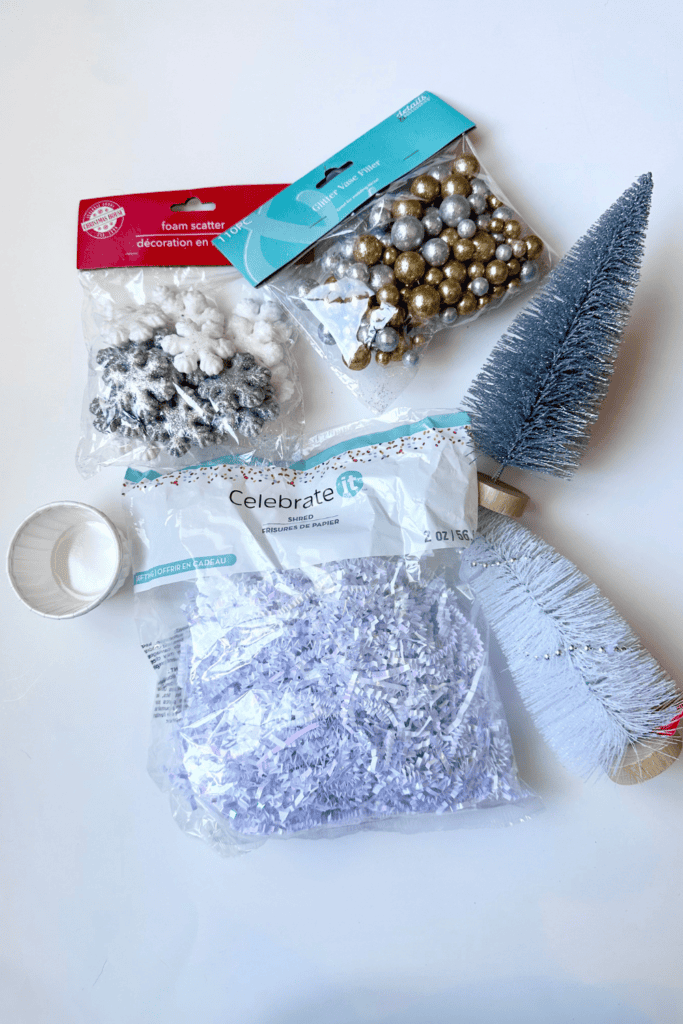
You can use exactly what we did or mix and match depending on what you find. There’s no wrong way to make a sensory bin!
Bottle Brush Trees (Dollar Tree)
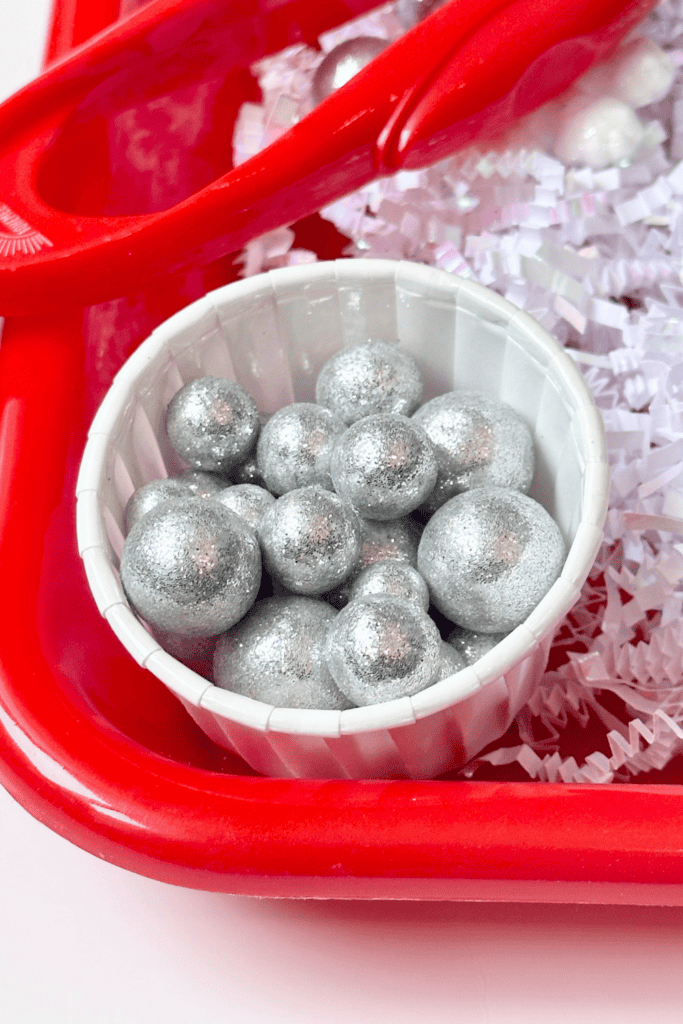
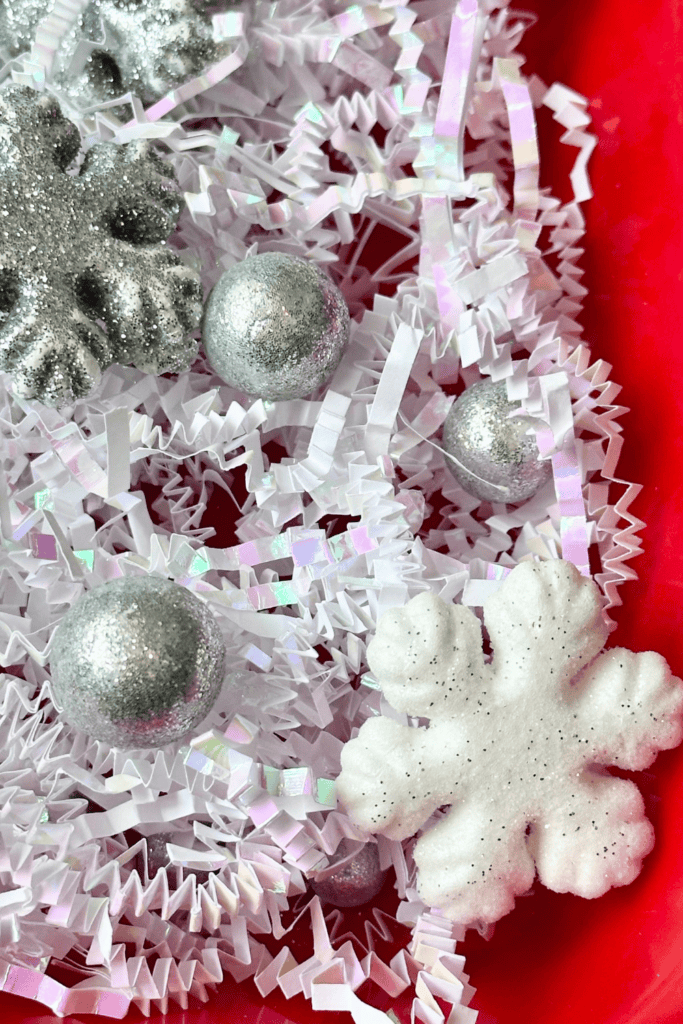
These little Christmas trees add a cozy forest feel and a fun texture for little fingers.Gold & Silver Foam Balls (Dollar Tree)
Soft and shiny, these make great pretend ornaments and are just the right size for scooping and grabbing.
(Watch closely so nothing goes into your baby’s mouth!)White Crinkle Shred Paper (Michaels)
This is the perfect “snow” base! It crinkles, rustles, and can hide the treasures.
Foam Snowflakes (Dollar Tree)
Lightweight, glittery snowflakes add visual interest and are fun to sort, stack, or hide.Paper Muffin Cups (Dollar Tree)
Great for scooping, filling, and dumping—these turn your sensory bin into a pretend bakery in seconds!Plastic Tray or Bin (Amazon)
A shallow tray works best for younger kids so they can reach everything easily. Look for something sturdy and easy to clean.
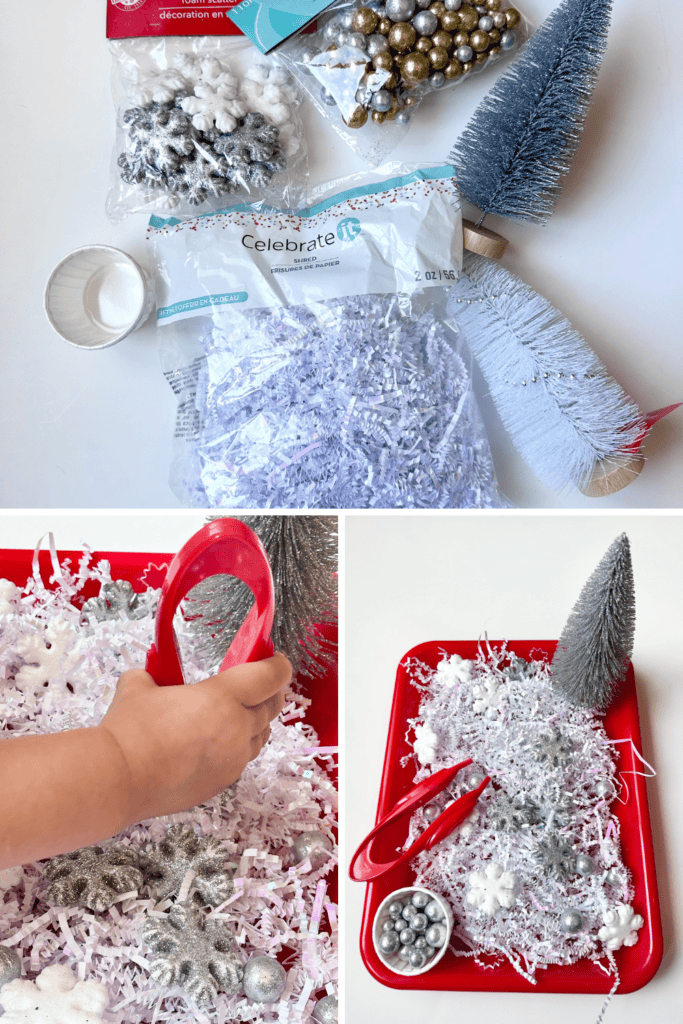
How to Set It Up
Start with your tray and spread a generous layer of white crinkle paper for the base.
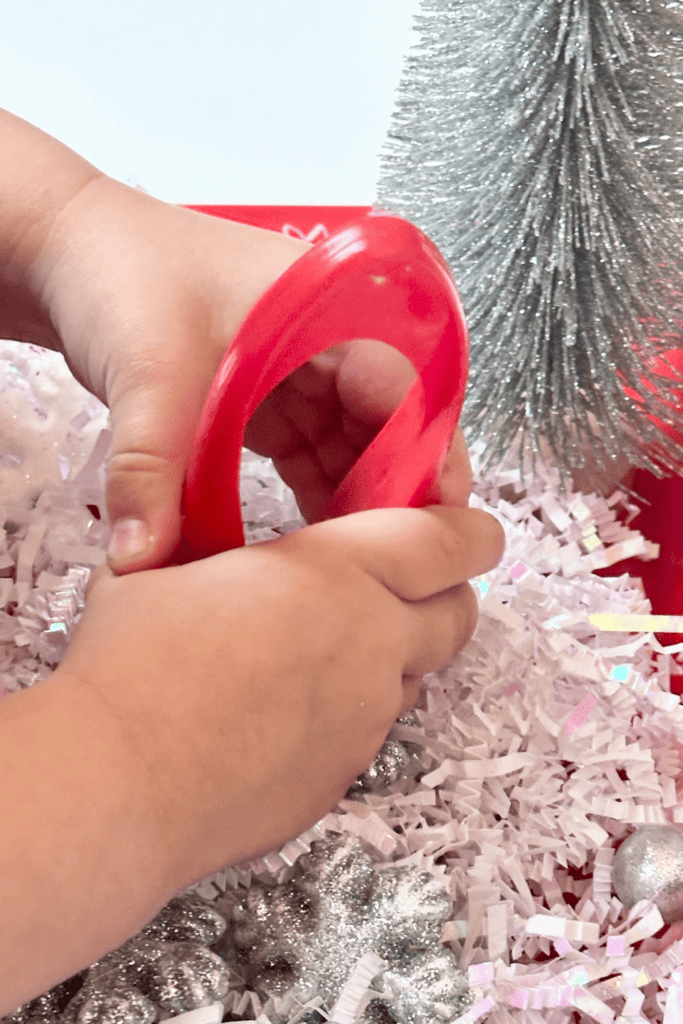
Nestle in the bottle brush trees—stand them up like a mini winter forest!
Sprinkle the foam snowflake scatter all over the bin.
Add a few gold and silver foam balls, scattering them across the surface.
Tuck in a few paper muffin cups so kids can scoop, collect, or stack.
Optional: Add a spoon or small measuring cup for extra scooping fun!
Customization Tips:
One of the best things about sensory bins is how flexible they are! You can personalize your Christmas sensory bin depending on what you find at the store or what you already have at home.
Here are some fun swaps:
No foam balls? Use jingle bells or cotton balls (supervised, of course!)
Can’t find crinkle paper? Try white rice, cotton batting, or white beans for different textures.
Add mini ornaments, felt pieces, or tiny bows for extra variety.
Include spoons, scoops, or tongs for kids over 18 months to practice fine motor skills.
Just remember: for kids under 3, everything needs to be large enough not to be a choking hazard, and play should always be supervised.
Why We Love It:
Sensory bins are great for:
Encouraging independent play
Supporting fine motor development
Offering a calming sensory experience
Introducing new vocabulary and holiday-themed concepts

Plus, they’re easy to pack up and reuse all season long!
Pro Tip:
Put your sensory bin on top of a blanket for easy cleanup!
Use this activity as a screen-free way to keep little ones engaged while you relax next to them!
This Christmas-themed sensory bin brings joy, learning, and hands-on holiday fun! Playtime just got easy. Simple to make, endlessly customizable, and full of festive fun.

Share on Pinterest: